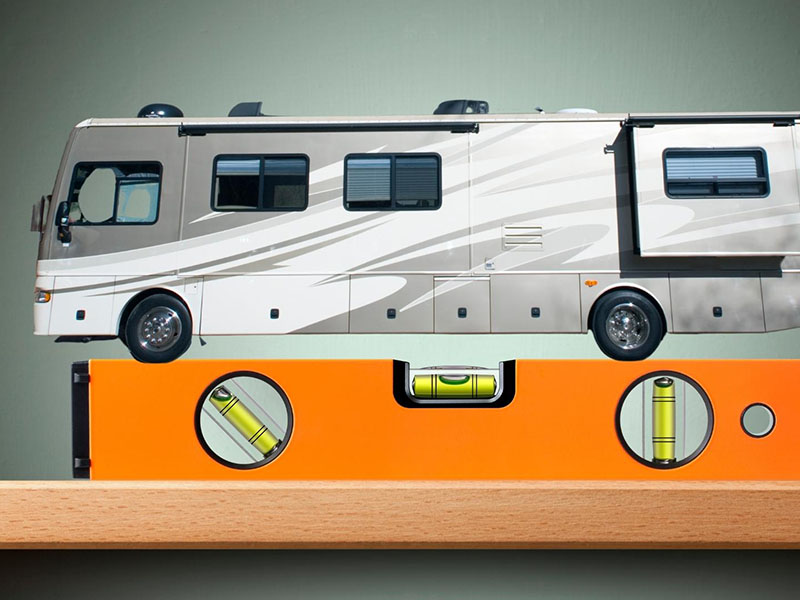
Leveling an RV is an essential aspect of every camping trip, ensuring your home-on-wheels sits comfortably and safely on any terrain. Proper leveling not only enhances your comfort but also protects the structural integrity of your RV. In this blog post, we will walk you through the step-by-step process of leveling your RV to make your camping experience stress-free and enjoyable.
1. Choose a Level Spot:
Before you start the leveling process, it’s crucial to park your RV on a level spot. Look for a flat area in your campsite, preferably paved or gravel, to avoid any unnecessary difficulties during the leveling process. Parking on uneven terrain can make the process more challenging and might lead to an unstable living environment inside the RV.
2. Prepare Your Equipment:
You’ll need a few essential tools to level your RV effectively. The most common leveling equipment includes leveling blocks, leveling jacks, and a bubble level. Leveling blocks are particularly useful for raising one side of the RV to achieve a level position.
3. Start with Manual Leveling:
If your RV has manual leveling jacks, begin by using the bubble level to determine which side is higher. Place the leveling blocks under the low side wheels and slowly drive up onto them. Continue checking the level and adding blocks until the RV is perfectly level.
4. Utilize RV Leveling Apps:
Alternatively, you can use smartphone apps designed for RV leveling. These apps use the device’s built-in sensors to help you find the best leveling position. Simply place the smartphone on a flat surface inside your RV, and the app will guide you through the leveling process.
5. Automatic Leveling Systems:
Some modern RVs come equipped with automatic leveling systems. These systems use hydraulic or electric jacks to level the RV with a push of a button. If your RV has this feature, consult your manufacturer’s manual for proper usage instructions.
6. Stabilize Your RV:
Once your RV is leveled, it’s time to stabilize it. Stabilizing jacks or stabilizing blocks can be used to minimize movement inside the RV caused by walking or shifting weight. This step is especially important if you have slide-outs to prevent unnecessary stress on these components.
7. Double Check and Adjust:
Even if you’ve used an app or an automatic leveling system, it’s always a good idea to double-check the level. Walk inside your RV and make sure everything feels stable and even. If adjustments are needed, use leveling blocks or jacks as required.
Conclusion:
Leveling an RV is a crucial task that can significantly impact your camping experience. By following these simple steps and using the right equipment, you can ensure your RV is level and stable, providing you with a comfortable and enjoyable home-away-from-home during your adventures. Remember, a well-leveled RV not only enhances your camping experience but also protects your valuable investment in your mobile lifestyle. Happy camping!

